Setting up the device
After you’ve turned on the device and downloaded the Air Monitor app, let’s get started by setting up the required connections.
Air Monitor has two connection modes.
1. Bluetooth connection
Bluetooth connection is for local connections between the device and your mobile phone. You will not need to sign into an Acer account to establish the connection.
You can see the real time sensor data in the mobile app within the range of the Bluetooth connection.
One mobile phone can see multiple Air Monitors’ sensor data through the Bluetooth connection. The number of Air Monitors a mobile phone can connect to will depend on the Bluetooth capability of the mobile device. We suggest a maximum of 8 Air Monitors to one mobile device. We suggest to set up an Air monitor in a 30 square meter space.
Please follow the steps below and the instructions shown on the mobile app to setup your Air Monitor.
1) Enable Bluetooth on your phone.
Note : The Bluetooth of Air Monitor will automatically be on stand by for potential connections; you won’t need to turn on the Bluetooth manually.
2) Launch the Air Monitor app.
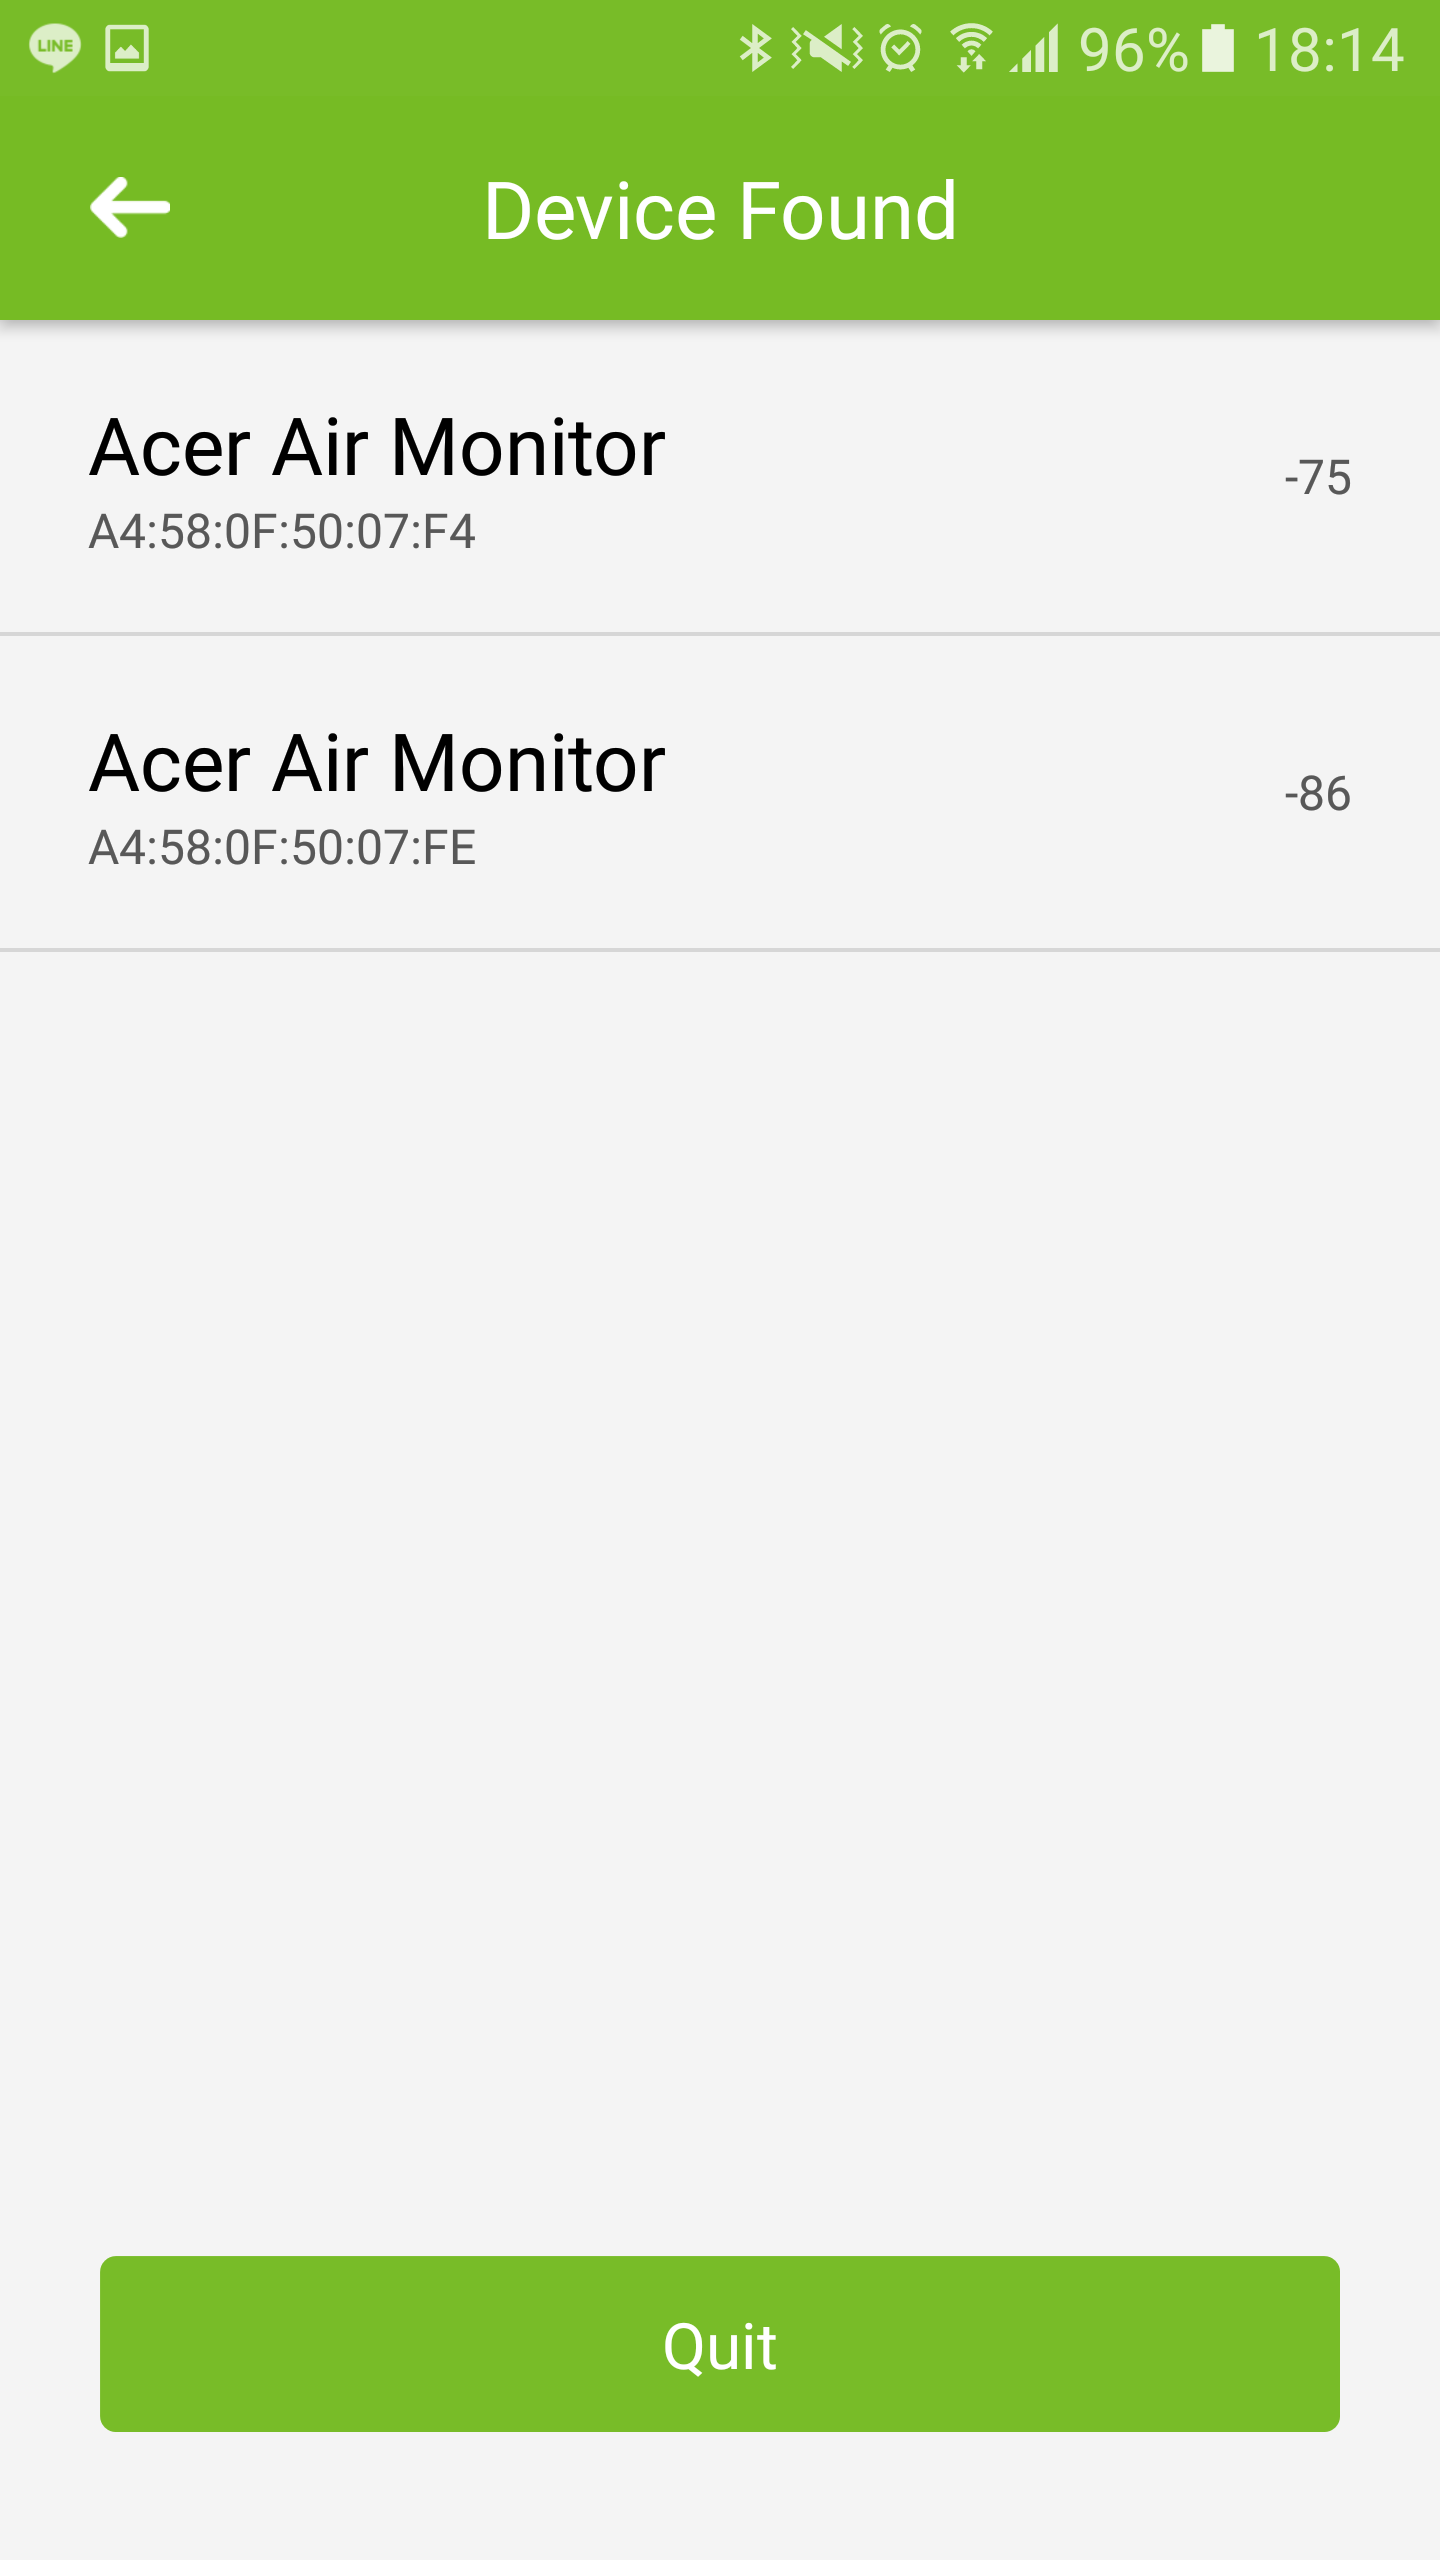
3) Tap the Setup Device

4) Tap the detected Air Monitor

Note: If you have multiple Air Monitor devices, the app will list these by proximity, i.e., the closest to the furthest away.
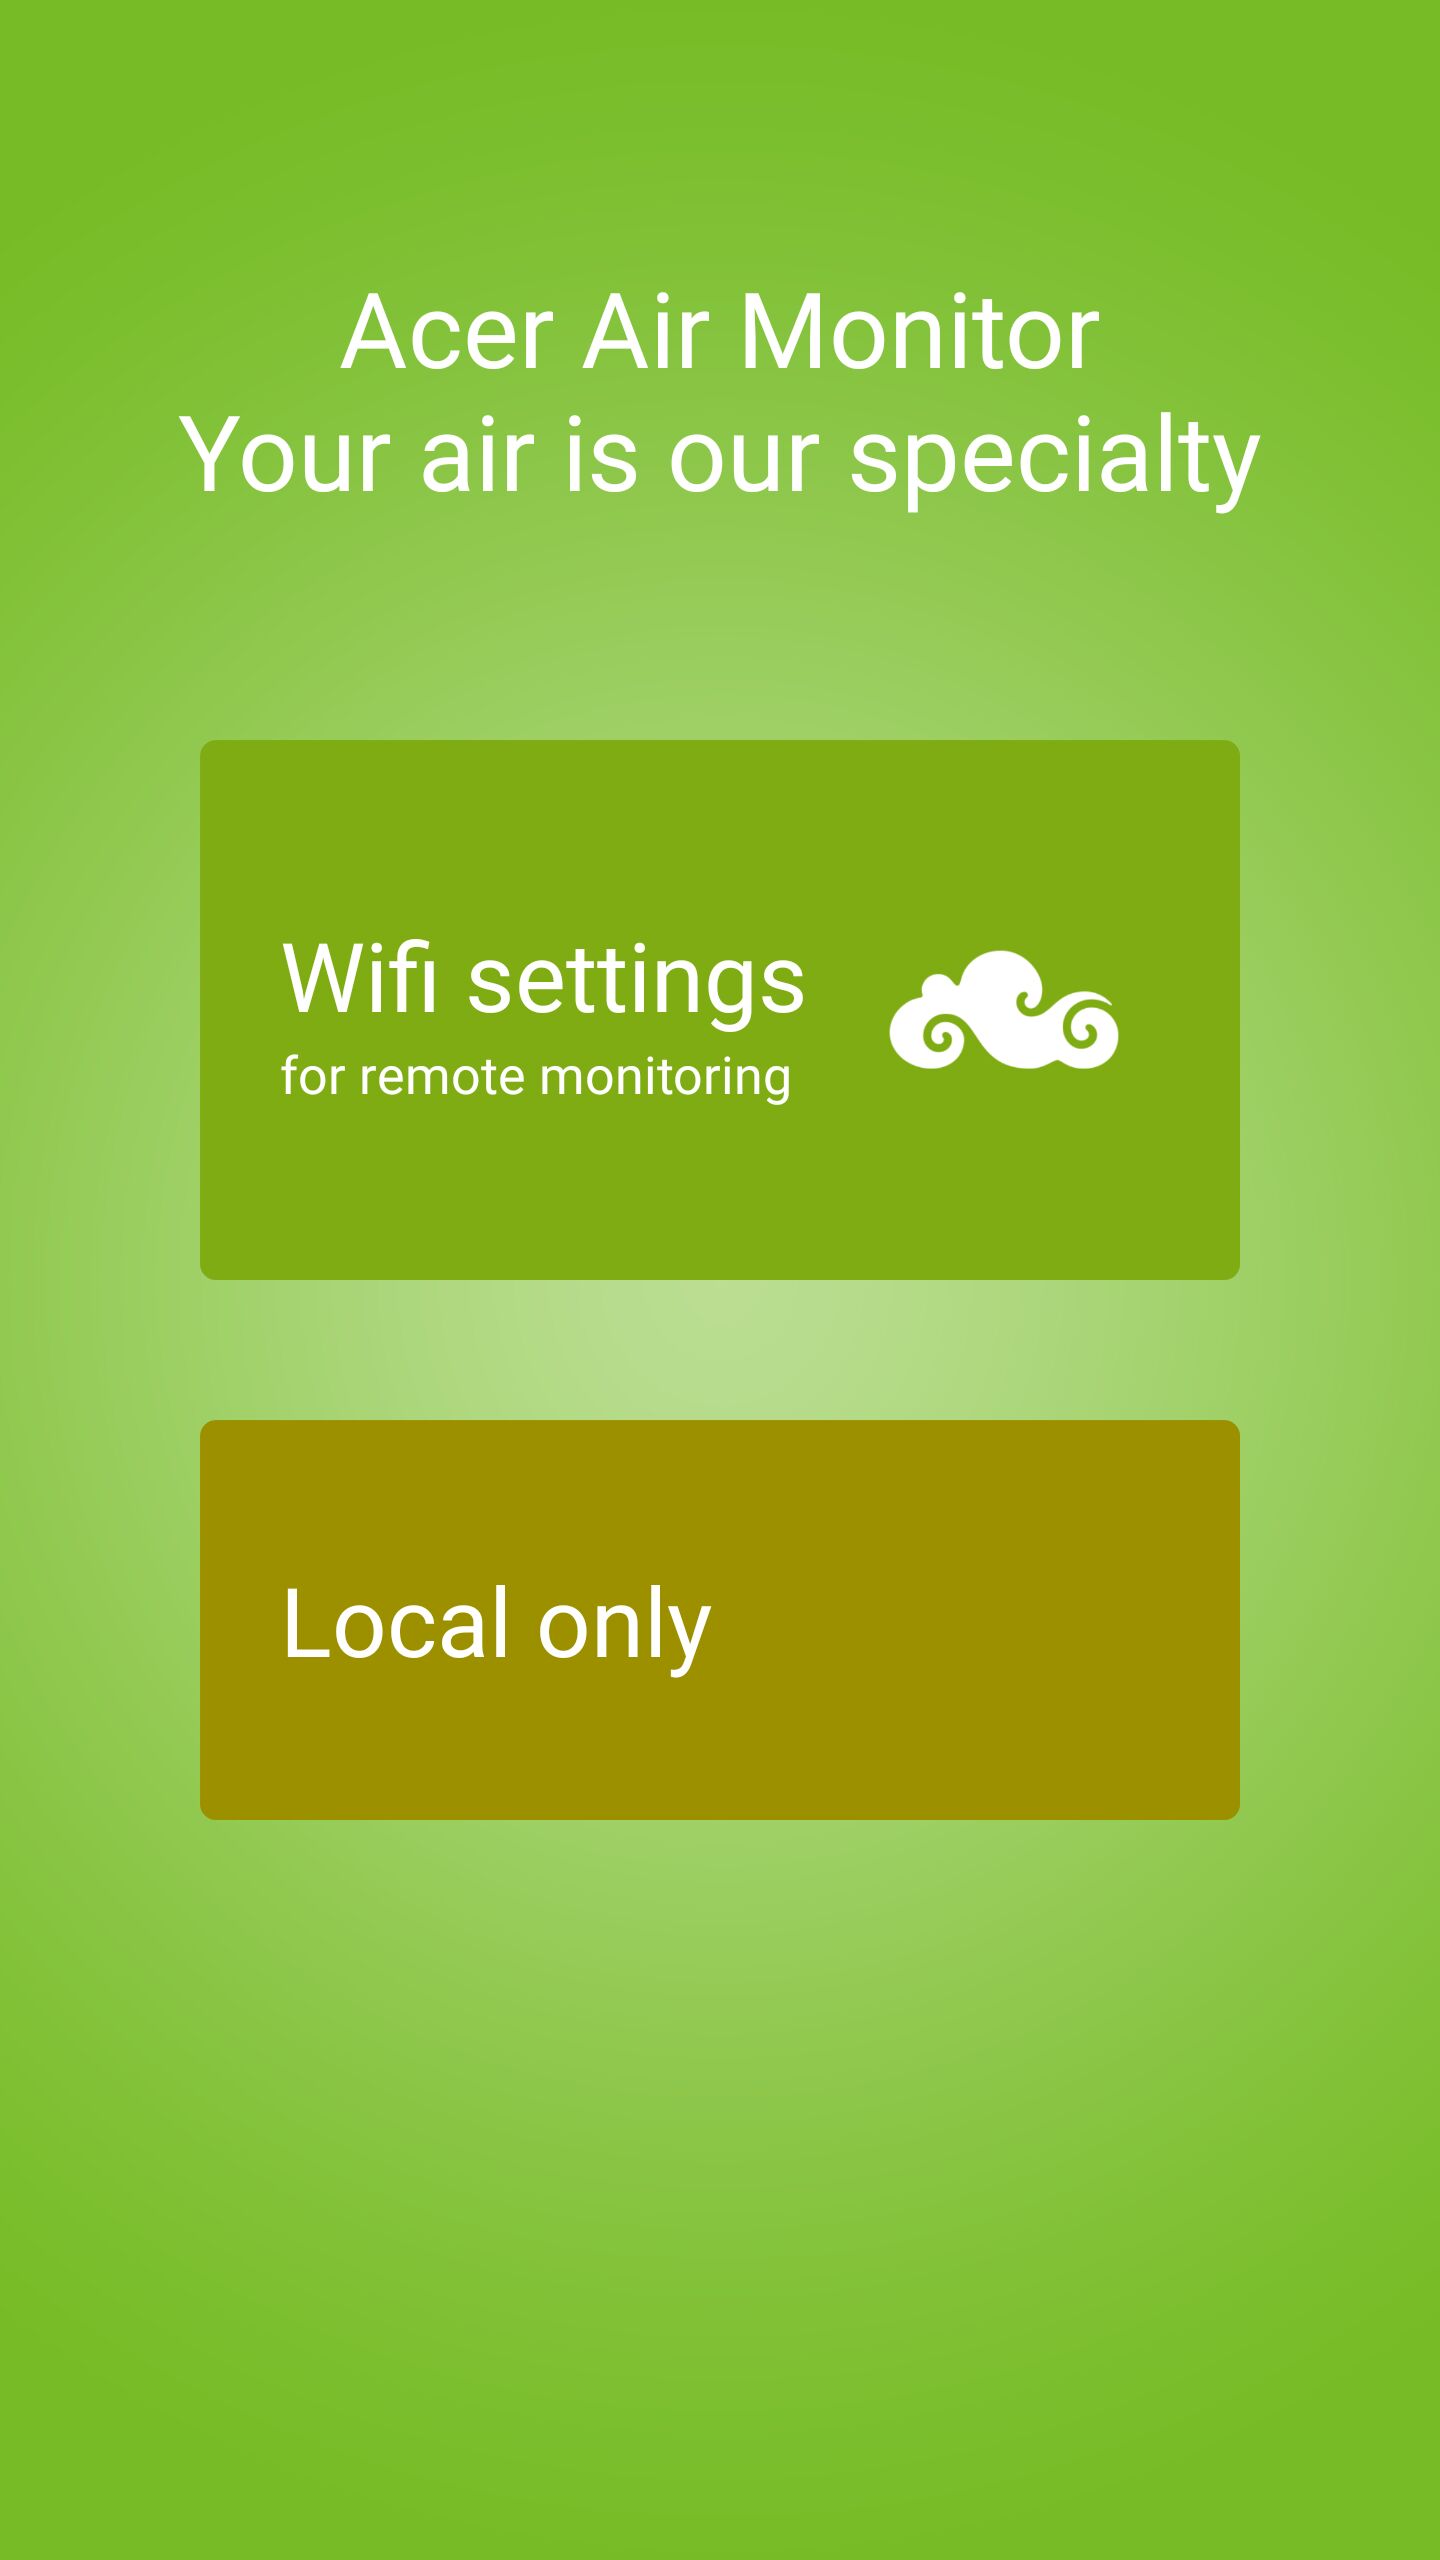
5) Tap Local only

6) You can now start setting up your Air Monitor.

The Bluetooth icon in the above diagram will turn blue. If Bluetooth connection is off, the Bluetooth icon will be in grey.
2. Acer Cloud connection through Wi-Fi
Login into / creating an Acer account enables 4 more features in comparison to the Bluetooth mode.
1) Remote monitoring feature, a mobile phone can see the Air Monitor’s data remotely. 2) The Air Monitor will upload sensor data to Acer Cloud so a user can view historical sensor and map view data in the mobile app. 3) This mode also enables the IFTTT feature. If a user sets up an IFTTT applet with the Air Monitor through the IFTTT mobile APP, the IFTTT trigger will only enable in the Acer Cloud mode. 4) The upcoming Amazon Alexa Air Monitor Skill feature will only works if the Air Monitor connects to the Acer Cloud.
In this mode, the total number of mobile phone and Air Monitor in one Acer Cloud account is limited to 32.
Please follow the steps below and the instructions shown on the mobile app to setup and connect your Air Monitor to the Acer Cloud. You will also need to carry out these steps again if you change the Wi-Fi network that your Air Monitor connects to. If you encounter any connection problem, you may refer to the Help page in our app.
1) Your mobile phone still needs to connect to your Air Monitor by Bluetooth Connection. After you complete the Bluetooth connection, make sure you have Wi-Fi enabled on your mobile device. 2) Connect your mobile device to the same local Wi-Fi AP(Access Point) which you will make the Air Monitor connect to.
Note:
- The Air Monitor only support 2.4G Wi-Fi network, it can NOT connect to 5G Wi-Fi network.
- The Air Monitor does NOT support hide SSID
3) Tap the Menu Icon, Tap the Device Center


4) Tap the desired device, Tap on Config Wi-Fi AP setting


5) The Acer account login page will appear. If you do not have an Acer account, please register for one

6) After completing registration, the Air Monitor Wireless settings page will appear
7) You will see your local Wi-Fi AP name. After entering the password, the app will begin connecting the device to internet through the Wi-Fi AP and login the device to your Acer account.

8) The Air Monitor will connect to your local Wi-Fi AP, and then it will connect to Acer Cloud through the Wi-Fi network to sign in to your Air Monitor.


9) When the app and device have successfully linked to your Acer account, a congratulatory screen will appear and the device’s Wi-Fi indicator will turn green
